Getting Started with Latvian Linen — What Beginners Should Know
Why Latvian linen is special, where to find authentic audēji weavers, and how to work with traditional fabrics in your projects.
Transform worn jeans, old shirts, and fabric scraps into useful items. We cover tote bags, cushion covers, and patchwork blankets with step-by-step instructions you can actually follow.
You've got a closet full of clothes you don't wear anymore. That's not laziness — it's normal. But here's the thing: those pieces don't have to disappear into a donation pile. They can become something completely different and genuinely useful.
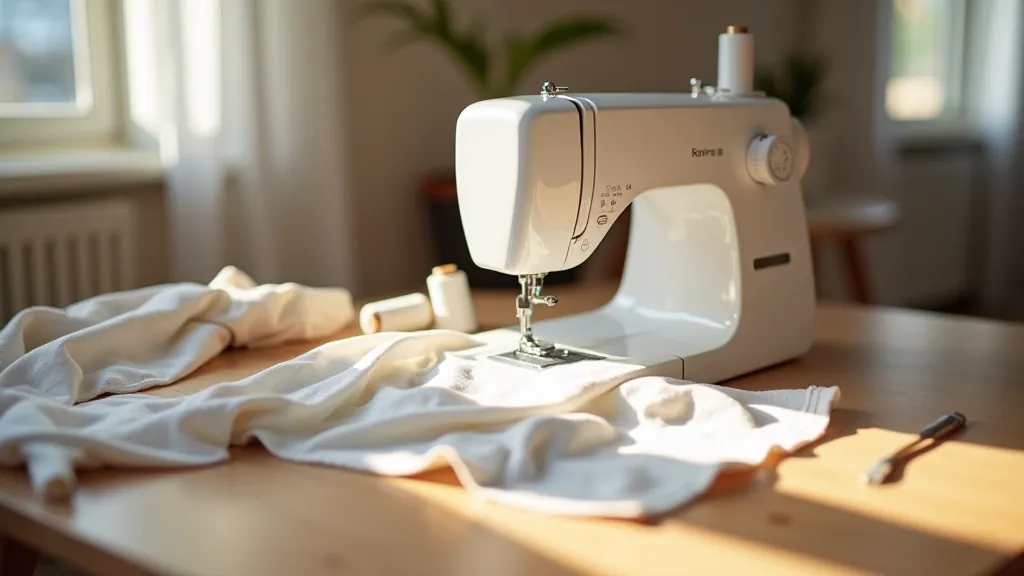
Upcycling is just turning old fabric into new items. It doesn't require special skills or expensive tools. You don't need to be a seamstress to start. What you need is basic sewing knowledge, an afternoon, and materials you already own.
Transform clothing instead of discarding it. Fabric doesn't biodegrade easily.
You're using materials you already own. No expensive fabric purchases needed.
Most of these projects take 2-4 hours from start to finish. Totally doable.
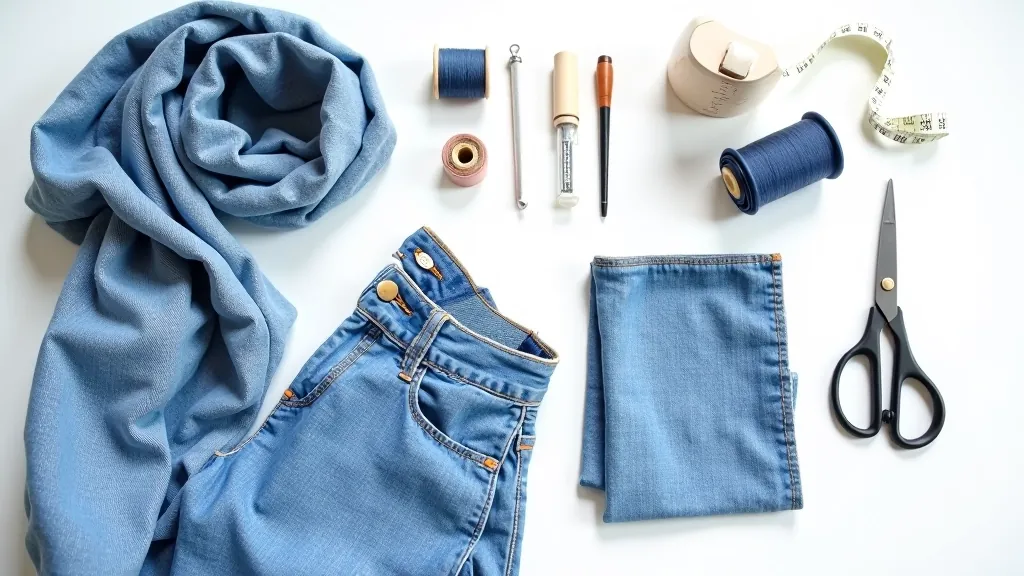
This is probably the easiest starting point. Old jeans are thick, durable, and they're already the right weight for a bag. You'll need one pair of jeans, thread, scissors, and a needle or sewing machine.
Cut off both pant legs about 12 inches from the crotch seam. This creates your bag body. You'll have two rectangular pieces.
Place the two pieces inside-out and sew along the bottom edge. Use a 0.5-inch seam allowance. This takes about 10 minutes with a sewing machine.
Cut two strips from the remaining jean material, each about 24 inches long. Fold and sew them together, then attach them to the top corners of your bag.
Sew the sides closed, then turn the whole thing right-side out. You're done. It's a real, functional tote bag.
Pro tip: Keep the original seams where the legs meet the waistband — they're already finished edges. Your bag will look more professional.
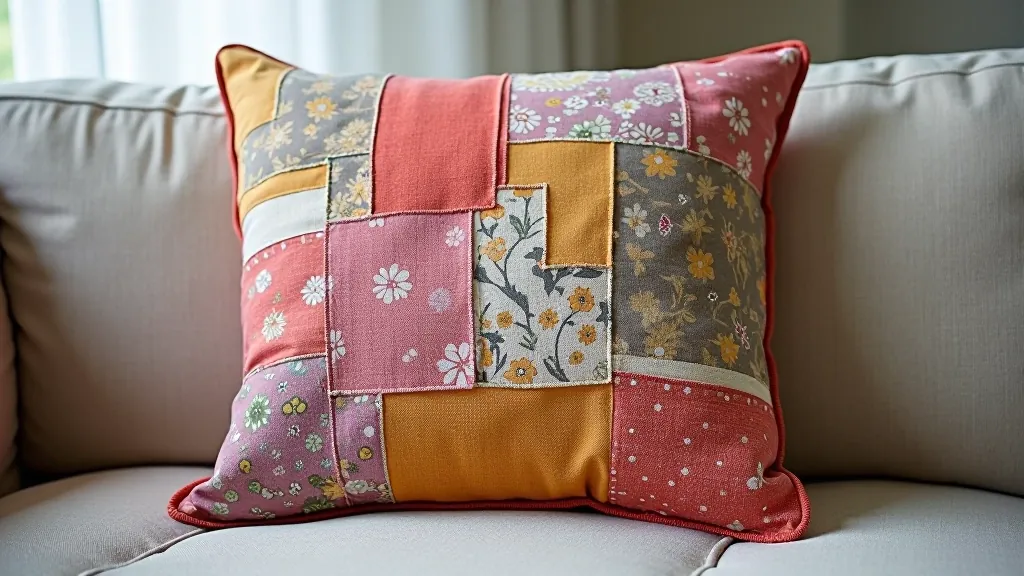
Got a collection of old t-shirts or button-up shirts in different colors? A patchwork cushion is the perfect use for them. It's slightly more involved than the tote bag, but the results are really striking.
You'll need: multiple old shirts in different colors, scissors, a 16x16 inch cushion form (about 8-12 euros online), needle and thread, and pins. The actual assembly takes about 3 hours including drying time if you're hand-sewing.
Cut your shirt fabric into squares or rectangles — aim for roughly 4-inch pieces. You'll need about 16-20 pieces depending on your pattern. Arrange them in a layout you like before sewing anything. Once you're happy with the design, sew them together in rows, then sew the rows together.
Sew the patchwork piece to a backing fabric (any old sheet works), leaving one side open. Insert your cushion form, then stitch that final side closed. The seams show on the outside, which is actually part of the charm. It looks handmade because it is.
Real talk: Your first patchwork won't be perfectly square. The seams won't all line up perfectly. That's fine. It looks authentic and interesting, not manufactured.
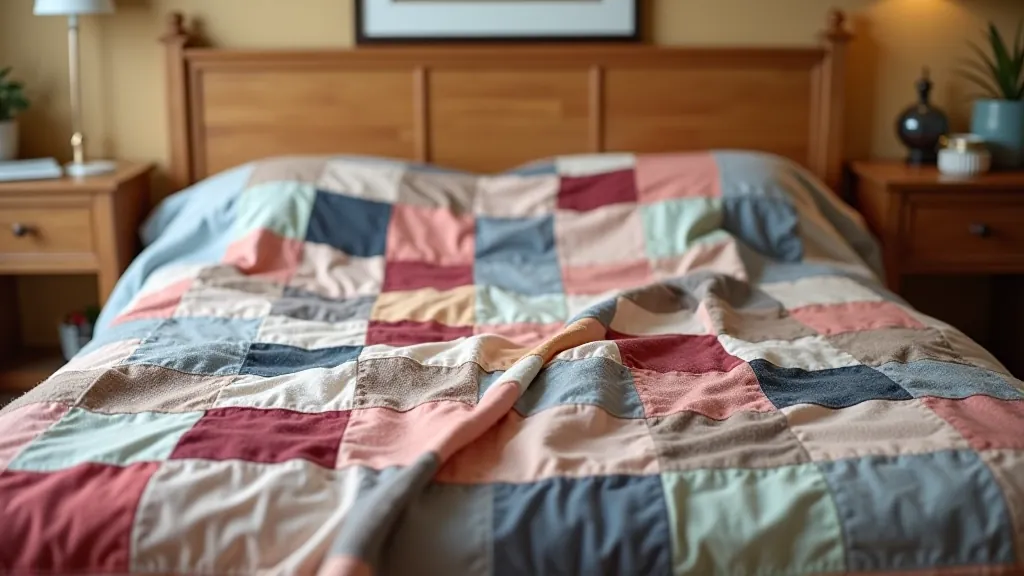
This is the most ambitious of the three, but don't let that scare you. You're essentially doing the same thing as the cushion cover, just bigger. A finished blanket (about 50x60 inches) uses roughly 8-10 old t-shirts or 12-15 dress shirts worth of fabric.
Cut your shirts into 6-inch squares. You'll need about 40-50 squares total. The cutting takes longer than the sewing, honestly. About an hour if you're methodical.
Arrange your squares in a 7x7 or 8x6 grid pattern. Mix the colors so similar tones aren't next to each other. Sew them together in rows, press the seams, then sew the rows together. Sew this patchwork to your backing fabric, and you're finished.
The whole project takes 4-6 hours from start to finish with a sewing machine. It's not quick, but it's genuinely rewarding. You've taken materials that were heading to the trash and created something you'll actually use. Your friends will ask where you got it.
You don't need a lot. If you've got basic sewing supplies, you're already set. Here's what matters:
Sharp fabric scissors, not kitchen scissors. Good scissors cost 10-15 euros and last years. Dull scissors make fabric fray and your cuts will be messy.
Hand-sewing works, but it's slow. A basic machine (100-150 euros) cuts project time in half. You don't need anything fancy for these projects.
All-purpose polyester thread works fine. Choose colors that blend with your fabric. One spool (1-2 euros) goes a long way.
Fabric pins hold pieces together while you sew. They prevent shifting. A pack lasts forever and costs about 3 euros.
For hand-sewing. Needles break, so get a multi-pack. Size 7-10 works for most fabric. Less than 2 euros.
Soft measuring tape helps you cut squares accurately. A basic one costs 2-3 euros. Straight edges work too.
Keep your seams consistent — aim for 0.5 inches. If your seams are different widths, your pieces won't line up. Sounds picky, but it makes a difference.
After sewing, press the seams flat with an iron. Flat seams make the next row of stitching much easier and look neater.
Mixing jersey knits with woven cottons creates interesting texture. Just know that knits stretch slightly, so handle them carefully.
Arrange all your fabric pieces on the floor before sewing anything. It's way easier to shuffle things around when they're not attached yet.
You don't need permission to try this. You don't need special skills or talent. You've got old clothes sitting in your closet, scissors, and probably needle and thread somewhere. That's enough.
Start with the tote bag. It's the quickest, the most forgiving, and it's genuinely useful. If you like how it turns out, try the cushion cover. If you're feeling ambitious, go for the blanket.
The point isn't perfection. The point is that you're taking something old and making it into something new. That's satisfying in a way that buying things never is.
Ready to learn more about sewing fundamentals?
Read: Your First Sewing Machine Setup Guide
This article is educational and informational in nature. The techniques described are general guidance based on common sewing practices. Results depend on your individual skill level, materials used, and attention to detail. We recommend practicing basic sewing skills before attempting larger projects. Always use scissors and sewing equipment safely, and consult additional resources or local workshops if you need hands-on instruction.