Getting Started with Latvian Linen — What Beginners Should Know
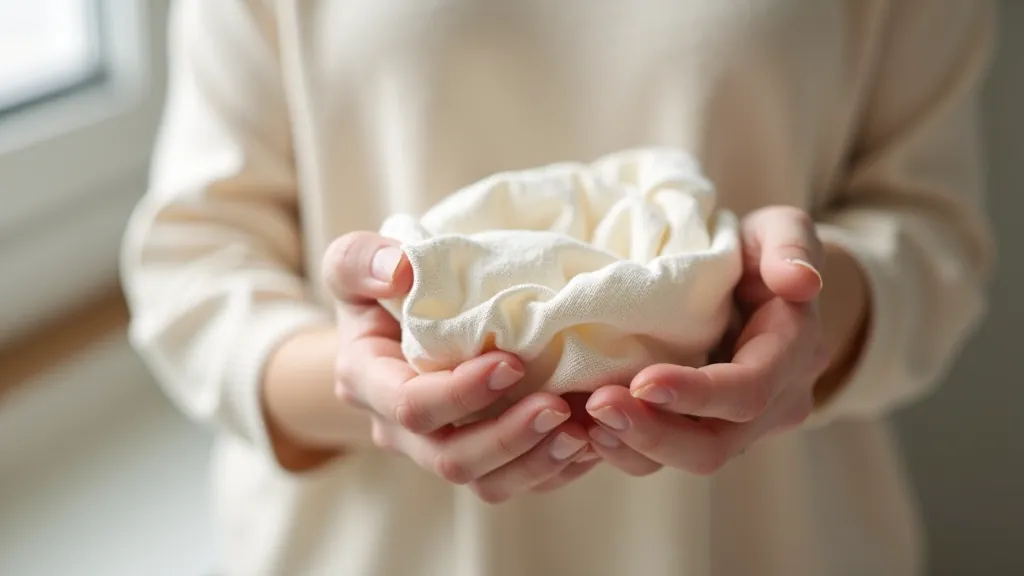
Why Latvian linen is special, where to find authentic audēji weavers, and how to work with this beautiful traditional fabric.
Feeling nervous about starting? We walk you through unboxing, threading, tension adjustment, and the four stitches you actually need to know.
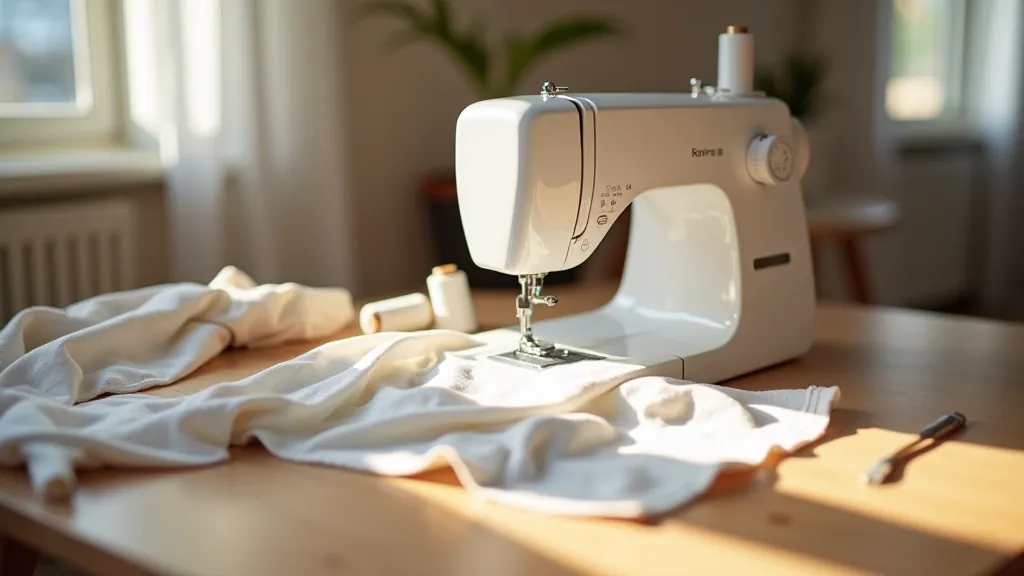
The first time you unbox a sewing machine can feel overwhelming. There's the presser foot, the bobbin, the tension dial — it's a lot. But here's the thing: most of what you're looking at is pretty logical once you understand what each part does.
We're going to walk through this step by step. By the end, you'll know how to set up your machine, thread it properly, and get your first stitches down. It won't take long. You'll be sewing actual things within a couple of hours.
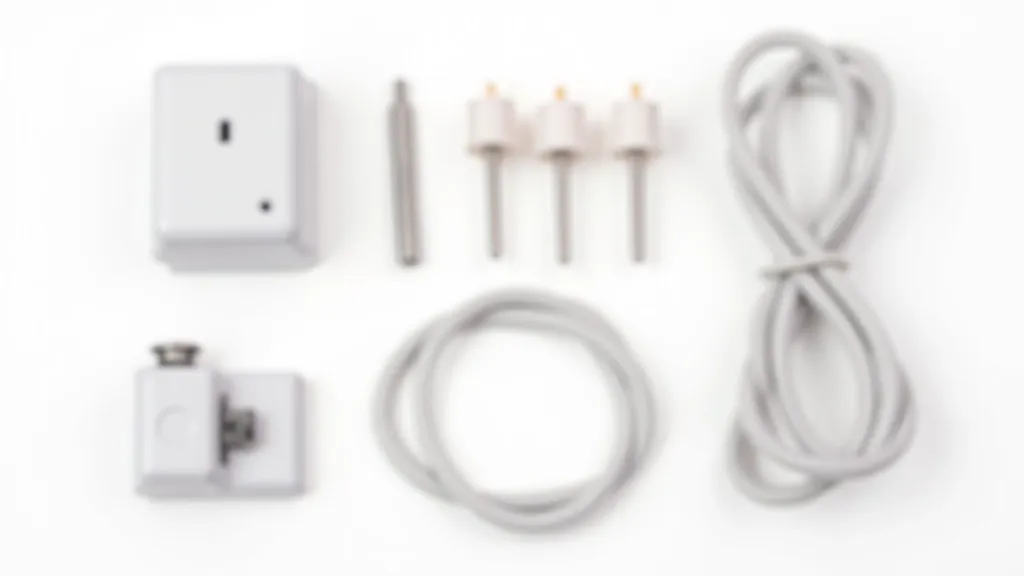
Start by laying everything out. You'll have the machine itself, a power cord, a foot pedal, several presser feet (the little clamps that hold fabric down), bobbins (the small spools that hold thread underneath), and probably a manual you haven't looked at yet.
First thing: attach the presser foot if it's not already on. It clips into a slot above the needle. You'll hear a little click when it's secured. Next, plug in your machine and connect the foot pedal. Most machines come with the cord already attached to the pedal — just plug it into the port on the side or back of the machine.
Don't panic if there's a lot you don't understand yet. You're about to learn the essential parts. The rest can wait.
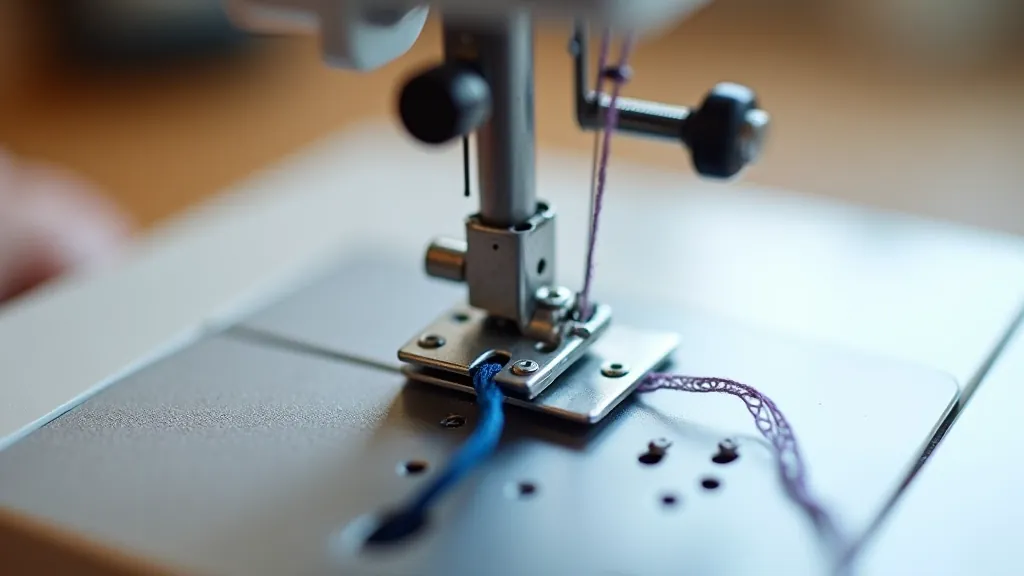
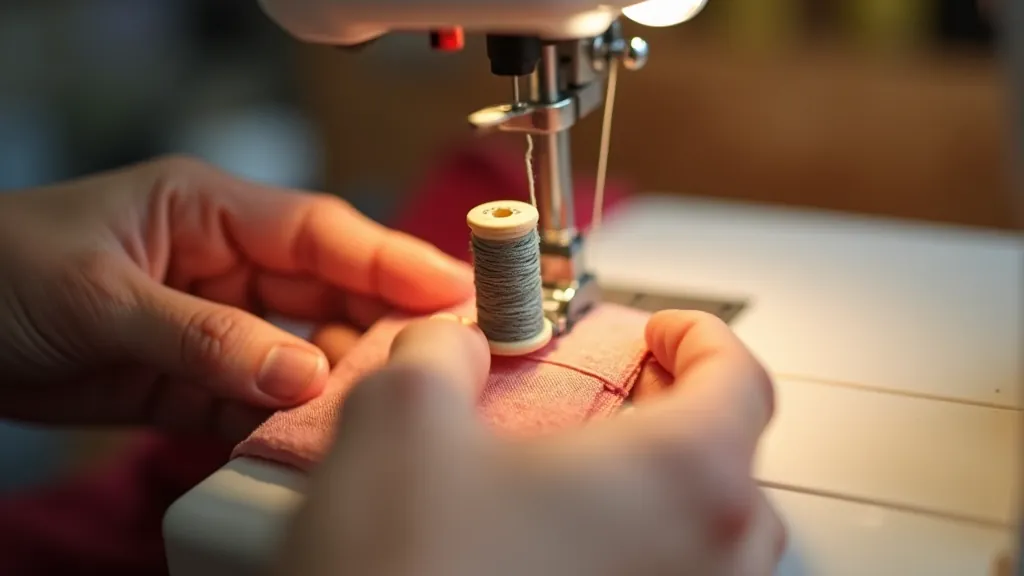
Threading isn't actually complicated once you see it done. Your thread needs to follow a specific path from the spool, through several guides and a tensioner, down to the needle. Every machine is slightly different, but the principle's the same.
Here's what to do: Raise the presser foot all the way up — this opens the tension discs that would otherwise pinch your thread. Place a spool of thread on the spool pin (usually at the top or side of the machine). Now follow the guides. You'll see little hooks or slots marked with numbers or arrows. Thread goes through each one in order. It's like following a path on a map.
When you get to the needle, the thread goes in from front to back. Most needles have a little groove on one side — that's the direction the thread needs to face. Push it all the way up into the needle clamp and tighten it. Don't pull too hard, but make sure it's secure.
Pro tip: If your first attempts don't work, it's probably because the thread didn't seat properly in one of the guides. Pull it out and try again. Takes 30 seconds the second time.
While the top thread is what you threaded just now, there's also a bottom thread that comes from a bobbin. You'll need to wind thread onto a bobbin and insert it into the bobbin case. It sounds like another whole process, but it's quicker than threading the needle.
Most machines come with bobbins and a bobbin winder. Place an empty bobbin on the winder pin, put the winder against a thread spool, and press the foot pedal. The bobbin fills up in maybe 30 seconds. When it's full, it stops automatically on most machines. Cut the thread and remove the bobbin.
Now you need to insert it into the bobbin case — that's the little compartment under the needle plate. There's usually a small door or removable cover. Open it, drop the bobbin in (most bobbins sit in a little cage), and close it back up. Some machines have the bobbin case visible, some you barely see it. Either way, it's not complicated.
Note: Make sure both your top and bottom threads are the same color to start. Different colors will show up in your seams. Once you understand how tension works, you can experiment.
Tension is where people get confused. It's actually simple: the tension dial controls how tight the thread is gripped as it goes through the machine. Too loose and your stitches look messy. Too tight and the fabric puckers.
Bottom thread shows on top. Stitches look loopy and weak. Solution: Turn tension dial up slightly (higher number).
Both threads lock together in the middle of the fabric. Seam looks clean and even on both sides. Tension is usually around 4-5 on most machines.
Fabric puckers and wrinkles. Top thread snaps sometimes. Solution: Turn tension dial down (lower number).
Start with your machine's default tension (usually marked with a dot on the dial). Test it on scrap fabric. You can adjust from there. Most of the time you won't need to touch it again unless you switch to very thick or very thin fabric.
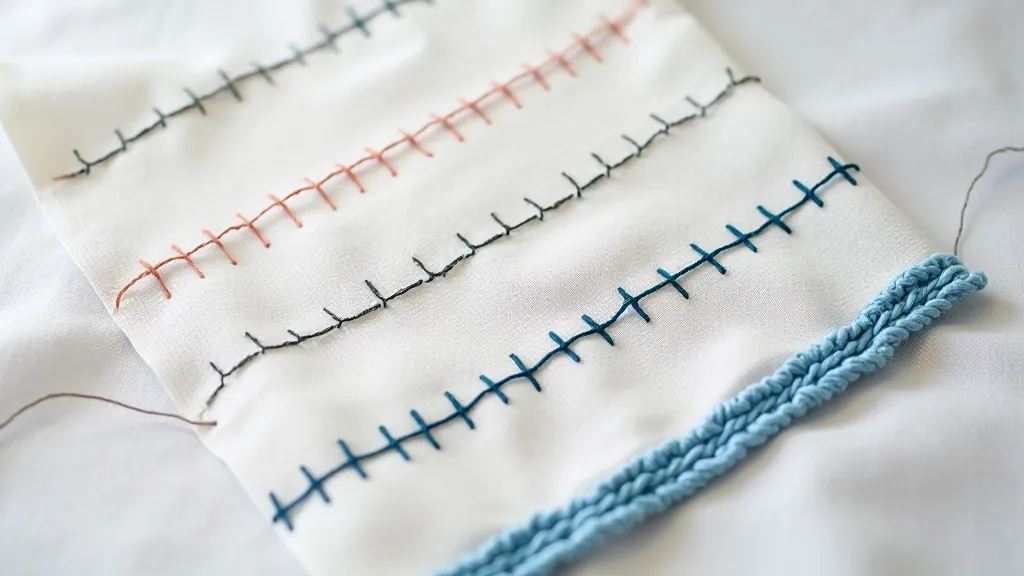
Your machine probably has 50+ stitch options. You don't need most of them. These four will handle nearly everything you'll want to make as a beginner.
This is your workhorse. Just a simple line of stitches going forward. You'll use this for seams, hems, repairs — basically everything. It's usually the default stitch when you turn on your machine. Stitch length around 2.5mm is standard.
Instead of going straight, the needle goes left, right, left, right. This stitch stretches a bit, so it's useful for fabrics that move (knits, stretchy materials). It's also good for finishing raw edges so they don't fray. Medium width, medium length works for most jobs.
Not technically a stitch type — it's the button on your machine that makes the needle go backward. You'll use this at the beginning and end of every seam to lock the thread so it doesn't unravel. Just press and hold for 3-4 stitches at the start and end of each seam.
Some machines call it different names. It's basically a zigzag that goes forward and back, designed to handle stretchy fabric without breaking. If you're sewing knits or swimwear eventually, you'll want this. But for cotton and basic fabrics, straight stitch is fine.
Don't jump straight to sewing a project. Spend 15 minutes making practice stitches. It'll save you from frustration later.
Grab any scrap fabric you have — old cotton sheets, leftover fabric from previous projects. Cut strips about 4 inches wide and 6 inches long. You'll need at least 3-4 pieces.
Put a piece under the needle. Lower the presser foot. This clamps the fabric in place. The foot pedal won't work properly if the foot isn't down.
Press the reverse button and hold it for 3 stitches. Then release and press the foot pedal to sew forward. Go slowly your first time — the faster the pedal, the faster the needle. You control the speed.
When you reach the end of the fabric, reverse for 3 stitches again. Then stop. Lift the presser foot and pull the fabric toward you to remove it. Cut the threads.
Look at both sides of the fabric. Is the tension right? Are the stitches straight? Practice a few more times. Your third or fourth attempt will look noticeably better than your first.


This article is intended as educational information about sewing machine setup and basic techniques. Every sewing machine model is slightly different, so always consult your specific machine's manual for detailed instructions. If you encounter technical issues with your machine, contact the manufacturer or a qualified repair technician. The techniques described here are general guidance based on standard sewing practices and may vary depending on your equipment and materials.